Tuesday, December 21, 2010

DIY Christmas Stockings

Since all of my tree ornaments were handmade, I needed to come up with stockings that continued the theme of the Burlap and Twine Christmas Tree,


I've been on an image transfer kick lately.  I've used freezer paper stencils for my tree skirt here, a gel medium transfer technique that I learned over at How About Orange, but the one I used for my Christmas "Stockings" was a simple iron on transfer.


You can buy image transfer paper at almost any craft store, you can use it in a regular old ink jet printer, it's super easy.

I found these great graphics over at Just Something I Made, if you are a crafter, scrapbooker or just like to play with graphic design, you really must check out JSIM. Written and designed by Cathe Holden, it's just bursting with ridiculously fun inspiration and downloads, there are just endless possibilities:

She designed these lovely labels to use on bottles of glitter:


What do glitter bottles have to do with Christmas Stocks?  Everything!  Duh.

I downloaded this graphic, added a little Illustrator magic and suddenly had a fun image to use on my stockings:


My first idea for the stocking was to do iron these on small burlap sacks, but the weave of the burlap was too wide to take the graphic.  So I found these similar muslin bags, applied the iron on, and here's how they came out:


So far my entire tree was DIY and inspired by other blogs in blogland. So, thank you creative bloggers for all of your work. I hope someday I can provide as much inspiration as I receive.


Sunday, December 12, 2010

Burlap & Twine Christmas Tree

'Tis the season to go craft crazy.  I mean, clearly there aren't more important responsibilities to take care of like going to work, taking care of your children, or reLAXING!  Nooo....spending hours wrapping twine around styrofoam balls is a MUCH more logical use of time...so that's what I did.

Inspiration:
I was inspired by a sheet of screen printed burlap I bought in Seattle a few months back.  Taking such an unexpected material, like a utility fabric and making it something beautiful really got my brain buzzing.


Needing an excuse to play with my new favorite material, I decided on a Burlap & Twine Christmas Tree. So here's what I made:
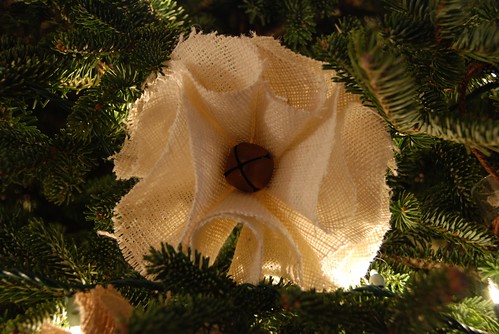
Burlap Flowers:
I went over to Joann Fabric and picked up about 10 yards of burlap for $1.50/yard (after 50% off coupon). I cut out somewhere between a one and a billion circles, folded them in quarters and wired the bottoms together (I didn't have any actual wire, so I unfolded a bunch of those cheap metal ornament hooks), and **poof** you've got flower:


Paper "Mod" Ornaments:
My studio already kinda looks like a paper warehouse, so when I saw this ornament tutorial over on Design Sponge a while back, I had plently of material to work with. Some ornaments I made from plain kraft paper, some from old time Christmas scrap book paper and my favorites, from pages of a vintage geography book I found at an antique shop.
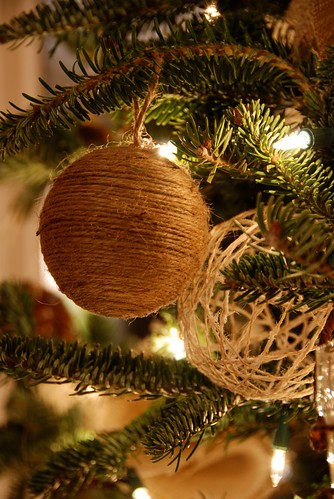


Twine Wrapped Ball:
This ornament is pretty easy, although more time consuming than you might think.  It's just twine wrapped around a styrofoam ball. If you try it, just make sure you add dots of glue along the way, it'll keep the wrap tight and also keep you from losing your work if you have to stop half way through:


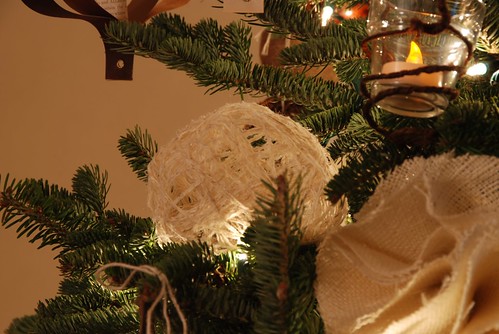
Stringy Wrapped Bally Thing:
These stringy wrapped bally things are from Martha Stewart.  I had some rolls of twine, some yarn, and funky textured string. All you have to do is wrap the string around a balloon and paint with glue, I used Elmer's, but a crocheting stiffener would probably work better. Martha's tutorial is here. The size of your stringy ball can be as big as you can blow a balloon, no need to limit yourself to "fist size" as instructed in the tutorial.

Some hung:

Some just tucked in between branches:


Tree Topper:
Now, I don't know about you, but I tend to find inspiration just about everywhere.  Even when I'm in a doctors office...about to get an x-ray...to make sure there isn't a growth...on my SPINE (there wasn't).  Anyhoodle, as I was sitting at the imaging center, I saw this fun thing hanging from the ceiling.  I just loved it, so I took a picture to save for a rainy day:


Little did I know then, the lonely star hanging from that ugly drop ceiling was my future Christmas Tree topper.

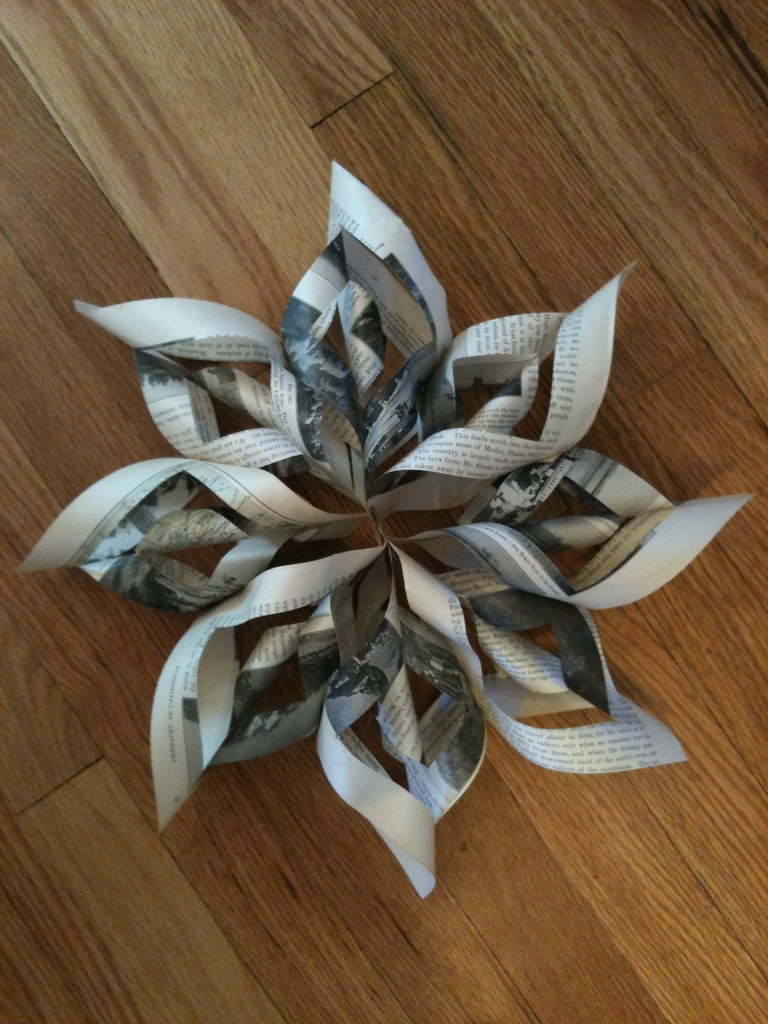
The paper is from the same vintage geography book other ornaments are made from:

Here 'tis on the floor:

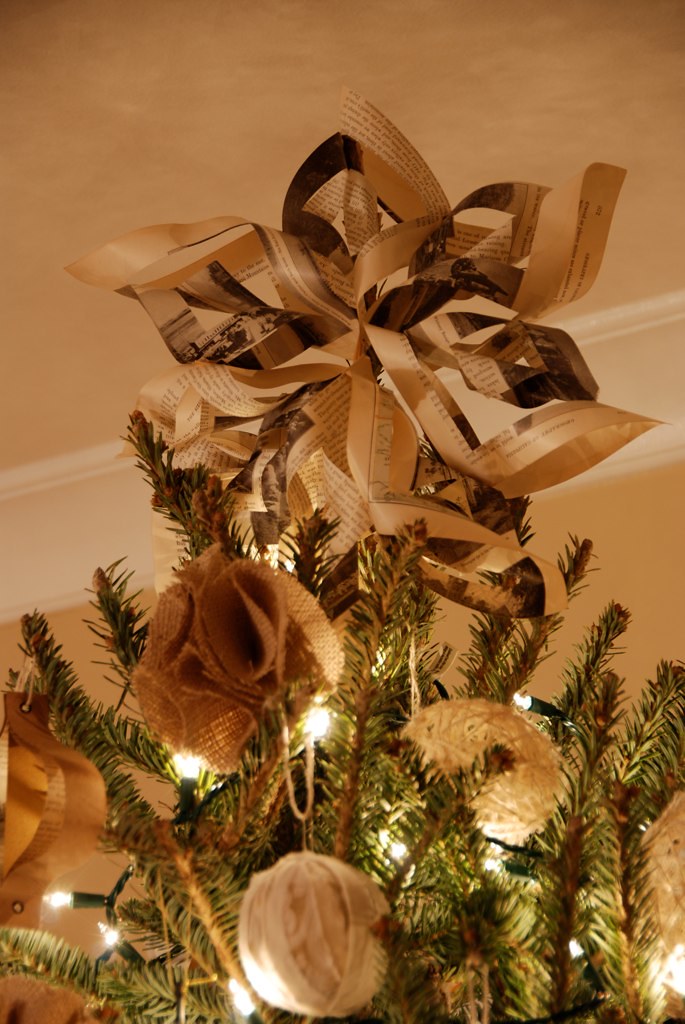
Here 'tis atop the tree:
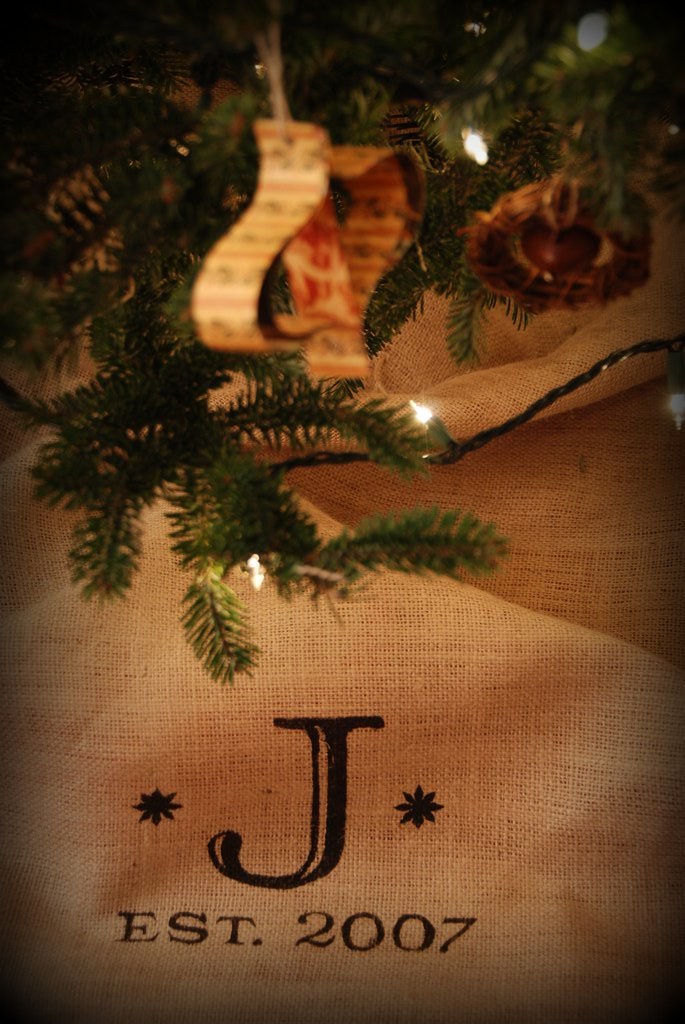

Tree Skirt:
And the final touch, a tree skirt.  I still had yards of burlap left and just draped the unfinished fabric around the bottom of the tree. It totally worked, but it was missing something.

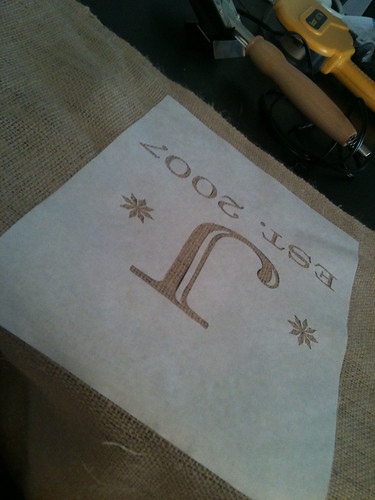
I had read about a freezer paper stencil technique all over the internets.  It was easy enough, just cut a design into the paper or use an inkjet printer to print your image on the paper side (not the waxy side) and use as a cutting template. Then, iron the paper (waxy side down) to your material and brush or dab paint right on top.  When you're done painting, just pull the paper up. No waxy or sticky residue left behind. 

Oh, did I mention that a whole roll of this stuff costs all of $3.50?  Make your own stencils for $3.50? Oh yeah, I'm all over it:

Here's the cut out:
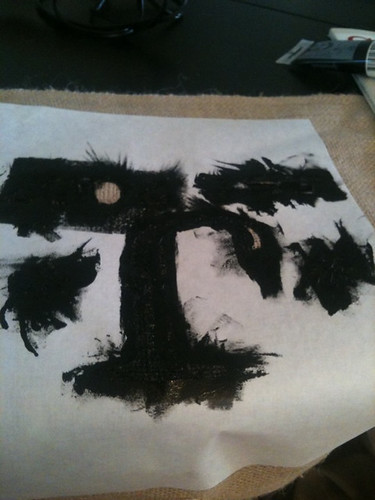
And here's the painted version: I used printers ink, which I wouldn't recommend, it's way too sticky, fabric paint would do just fine and be much more forgiving:

Finished!

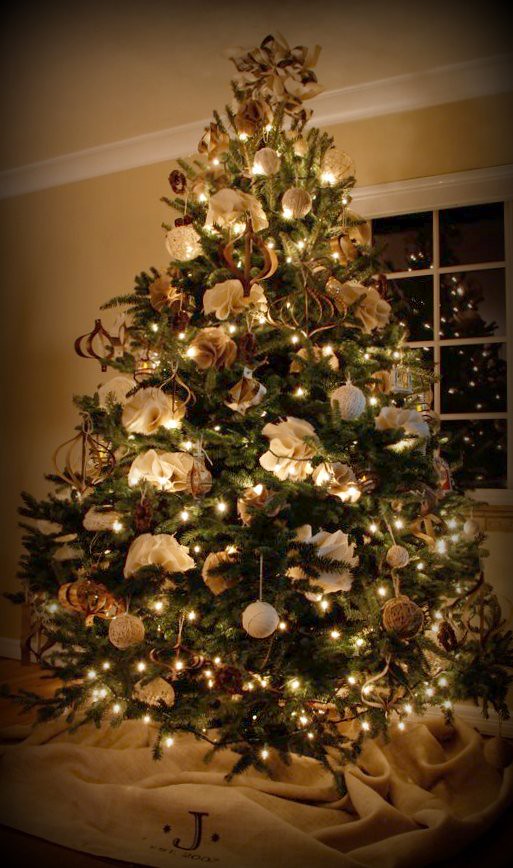
Put it all together and you have a Handmade Burlap & Twine Christmas Tree:

Coming soon: Personalized Stockings and Burlap Holiday Wreath.

Thursday, June 24, 2010

Destination Bridal Bouquets

How great are these??

I know a lot of brides struggle with the cost of wedding flowers since the flowers die after one day. What if you could find a bouquet that you could enjoy for years to come?

Check out these amazing shell bouquets from Kimberly Aurora of Romantic Flowers on Etsy. How great would these be for a destination wedding or a beach wedding?  So different! So fun!


She also wrote  a book & blog called Bouquet Chic where you can check out other fab bouquet designs.

Thursday, May 27, 2010

Baby Girl 1st Birthday Party Invitation

My little girl turned the big 1 last month! For someone who designs stationery, personal projects are always great excuses to go all out! And by "all out" I mean SUPER complicated :)

Two techniques I'd been wanting to play with were fabric envelopes and sewn paper.  Add those together and and you have a labor intensive nightmare.  But, through all my whining, the result was rediculously fun and I'd do it over in a second!

{fabric}


{Cricut}

{completed envelope}

{add a wrap around mailing label, printed on fabric}
{sew remaining monkey fabric strips on invites}
And finally, after only 6 yards of fabric, several rolls of fusible webbing, 17 lattes and a multitude of hours I'll never be able to get back, POOF handmade fabric envelopes with sew paper and fabric wrap around labels just like that!

What over the top crafts have you done for your family and friends?

Tuesday, May 25, 2010

National Stationery Show Recap 5: Business Card Roundup Part 3

I could easily write 14 more posts about business cards, but I gotsta to stop somewhere.

 Here are just a few more that I had to highlight.


Hazel & Violet Ink: 1 color 2 side letterpress

{front}

{back}

Delphine Press: 1 color 1 side letterpress

{front}

Bella Muse:
2 color 2 side digital print
CBI card included just to show you the scale.

{front}

 {back}


 Petits Mots: 1 color 1 side digital print
{front}
 

And last but not least, my own:
CryBaby Ink
2 color duplex letterpress, 

{front}
 

Now here's the tricky part, I knew I wanted duplexed back, but I couldn't figure out which paper to duplex with. There was blue velvet, gray velvet, blue rice paper, white rice paper, and some super fun ephemera wrapping paper from Cavallini.  So, instead of doing what most people do and edit, I chose all of them :)

{backs}
{velvets}


{rice paper}

{Cavallini Paper}

{And a paper sandwich}
probably my fav of the bunch

Thanks for playing along, I hope you've had fun...

Monday, May 24, 2010

National Stationery Show Recap 4: Business Card Roundup Part 2

More business card fabu-locity.

Laser Cutting Shapes:
 ~2 color digital print w/ black laser cut overlay

{front}


Bobbin Design:
digital print 1 color 2 side w/ stitching:

{front}

{back}
Looks like I may need another lesson in aperture settings ;)

Tiselle:
~2 color, 2 side letterpress:

{front}

{back}

Czar Press:
~ 2 Color, 2 side letterpress:
{front}

{back}

...still more to come...

Sunday, May 23, 2010

National Stationery Show Recap 3: Business Card Roundup Part 1

Of course any trade show you go to will have business cards ga-lore. BUT, when you go to a stationery trade show, these little cards don't just to hold contact info, each one is a tiny piece of lovely design you can keep in your pocket.

Here are some lovelies collected from the show this year.


By far, this one from Flywheel Press is my favorite, 2 color die cut 2 sided letterpress:

{front}

{back}


Twig & Fig 2 color duplexed letterpress:
{front}

{back}


BirdDog Press: 2 color 1 side letterpress
{front}


Spark Letterpress - 1 color 2 side letterpress, 4 part w/ grommet:

{front}
 
{back}
 ....stay tuned for part II...