Showing posts with label DIY. Show all posts

Tuesday, December 21, 2010

DIY Christmas Stockings

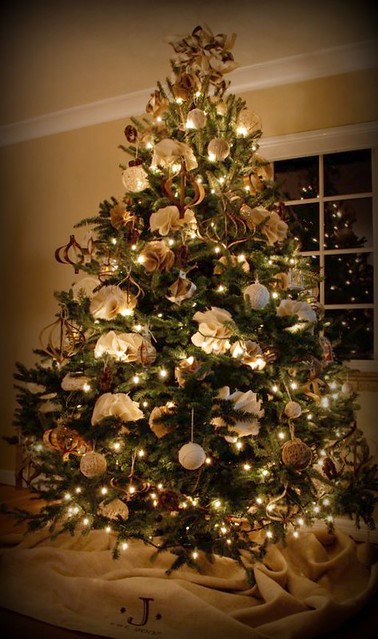
Since all of my tree ornaments were handmade, I needed to come up with stockings that continued the theme of the Burlap and Twine Christmas Tree,


I've been on an image transfer kick lately.  I've used freezer paper stencils for my tree skirt here, a gel medium transfer technique that I learned over at How About Orange, but the one I used for my Christmas "Stockings" was a simple iron on transfer.


You can buy image transfer paper at almost any craft store, you can use it in a regular old ink jet printer, it's super easy.

I found these great graphics over at Just Something I Made, if you are a crafter, scrapbooker or just like to play with graphic design, you really must check out JSIM. Written and designed by Cathe Holden, it's just bursting with ridiculously fun inspiration and downloads, there are just endless possibilities:

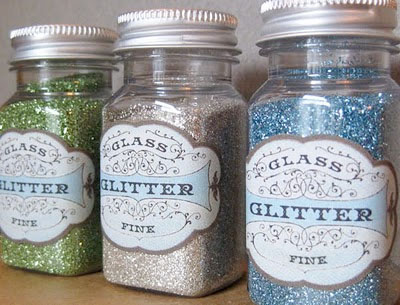
She designed these lovely labels to use on bottles of glitter:


What do glitter bottles have to do with Christmas Stocks?  Everything!  Duh.

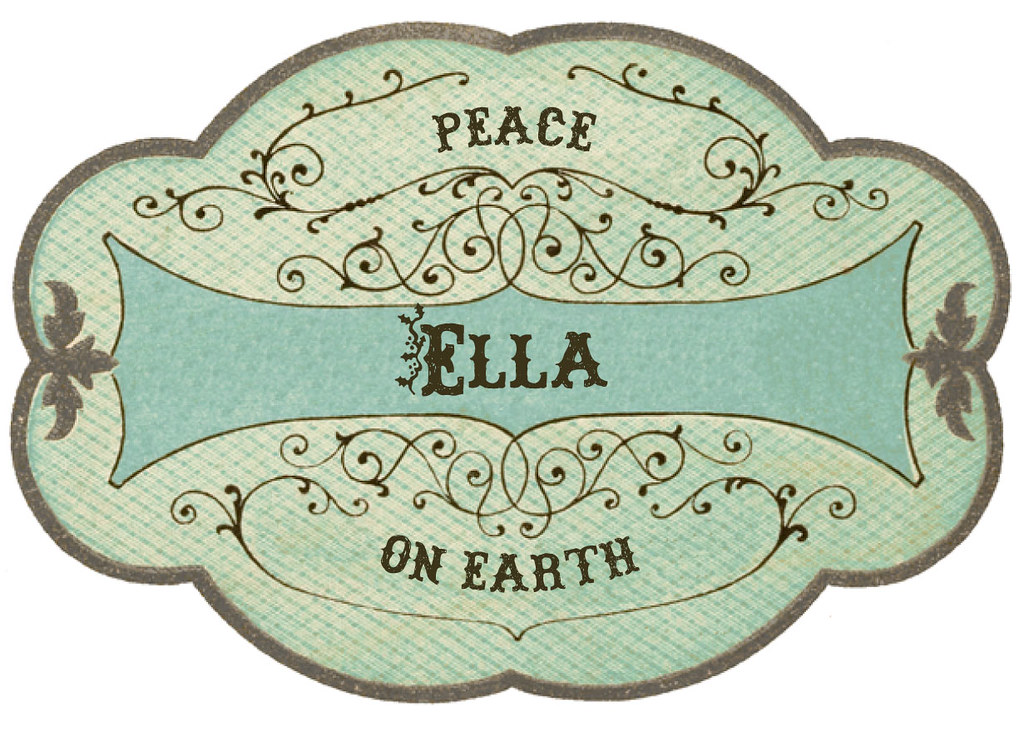
I downloaded this graphic, added a little Illustrator magic and suddenly had a fun image to use on my stockings:


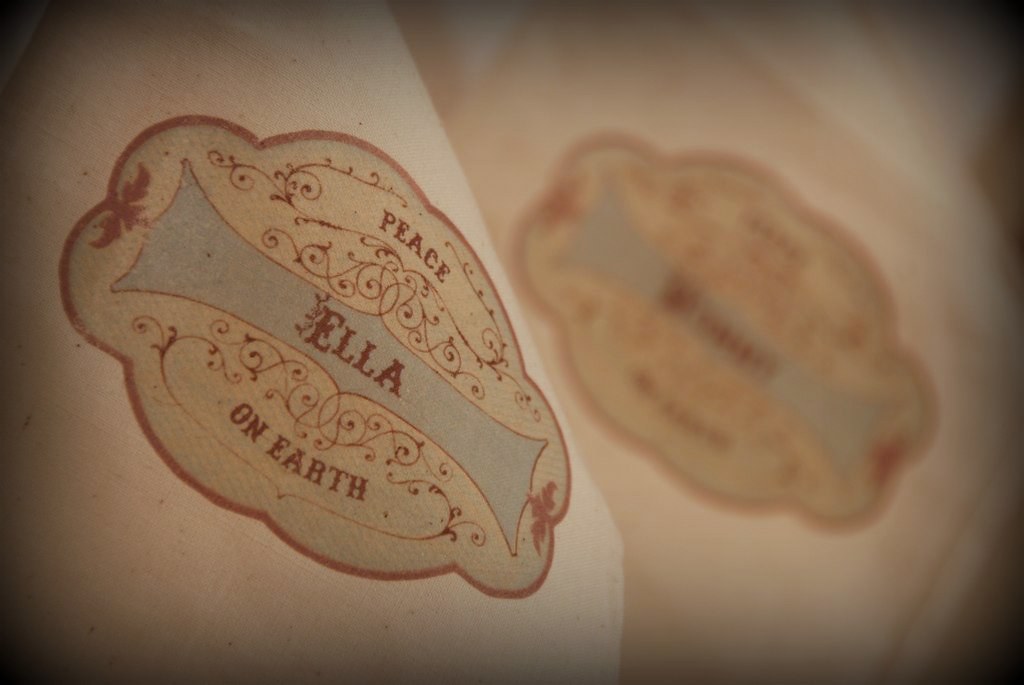
My first idea for the stocking was to do iron these on small burlap sacks, but the weave of the burlap was too wide to take the graphic.  So I found these similar muslin bags, applied the iron on, and here's how they came out:


So far my entire tree was DIY and inspired by other blogs in blogland. So, thank you creative bloggers for all of your work. I hope someday I can provide as much inspiration as I receive.


Sunday, December 12, 2010

Burlap & Twine Christmas Tree

'Tis the season to go craft crazy.  I mean, clearly there aren't more important responsibilities to take care of like going to work, taking care of your children, or reLAXING!  Nooo....spending hours wrapping twine around styrofoam balls is a MUCH more logical use of time...so that's what I did.

Inspiration:
I was inspired by a sheet of screen printed burlap I bought in Seattle a few months back.  Taking such an unexpected material, like a utility fabric and making it something beautiful really got my brain buzzing.


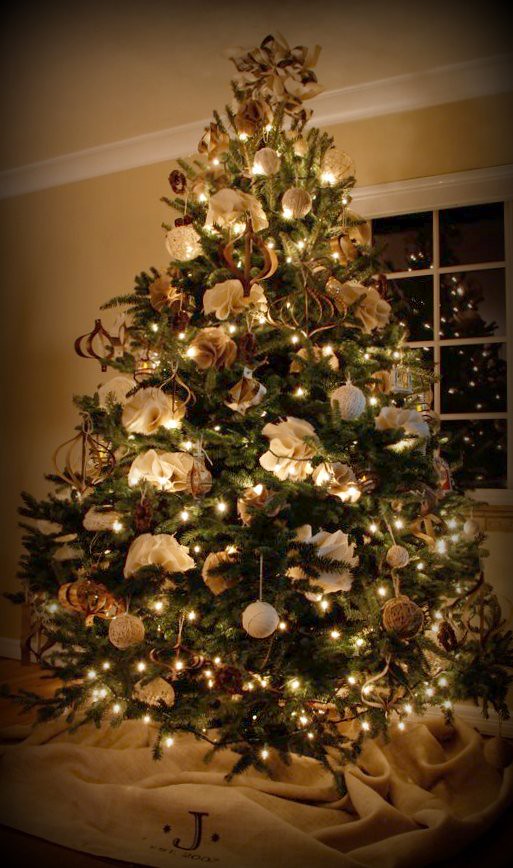
Needing an excuse to play with my new favorite material, I decided on a Burlap & Twine Christmas Tree. So here's what I made:

Burlap Flowers:
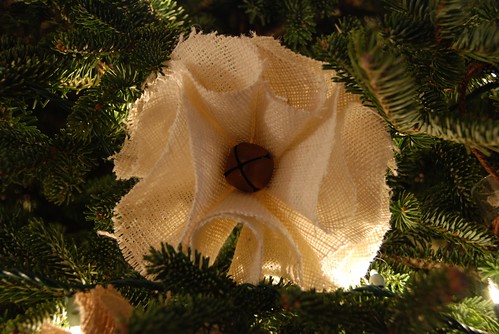
I went over to Joann Fabric and picked up about 10 yards of burlap for $1.50/yard (after 50% off coupon). I cut out somewhere between a one and a billion circles, folded them in quarters and wired the bottoms together (I didn't have any actual wire, so I unfolded a bunch of those cheap metal ornament hooks), and **poof** you've got flower:


Paper "Mod" Ornaments:
My studio already kinda looks like a paper warehouse, so when I saw this ornament tutorial over on Design Sponge a while back, I had plently of material to work with. Some ornaments I made from plain kraft paper, some from old time Christmas scrap book paper and my favorites, from pages of a vintage geography book I found at an antique shop.


Twine Wrapped Ball:
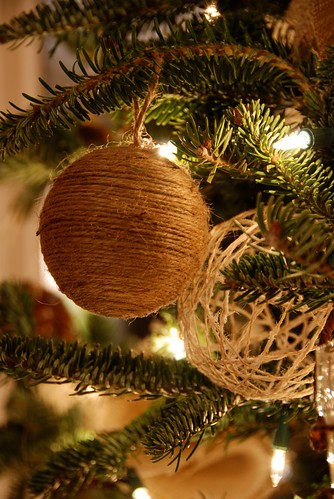
This ornament is pretty easy, although more time consuming than you might think.  It's just twine wrapped around a styrofoam ball. If you try it, just make sure you add dots of glue along the way, it'll keep the wrap tight and also keep you from losing your work if you have to stop half way through:


Stringy Wrapped Bally Thing:
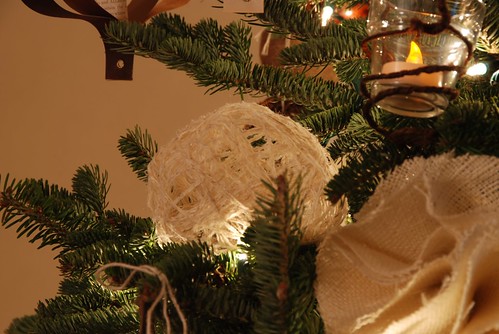
These stringy wrapped bally things are from Martha Stewart.  I had some rolls of twine, some yarn, and funky textured string. All you have to do is wrap the string around a balloon and paint with glue, I used Elmer's, but a crocheting stiffener would probably work better. Martha's tutorial is here. The size of your stringy ball can be as big as you can blow a balloon, no need to limit yourself to "fist size" as instructed in the tutorial.

Some hung:

Some just tucked in between branches:


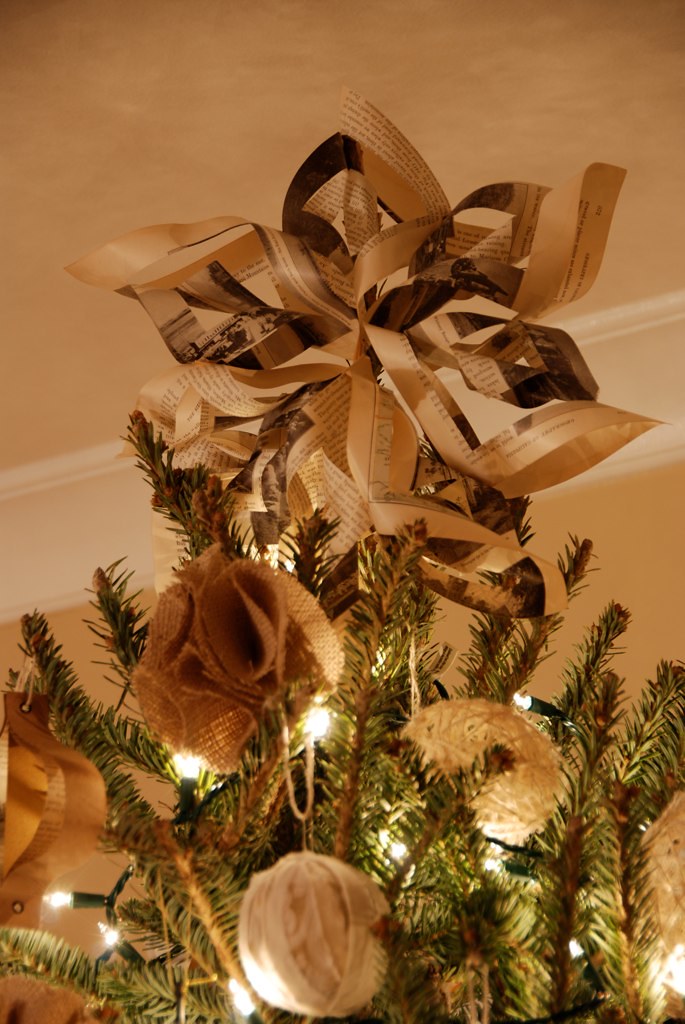
Tree Topper:
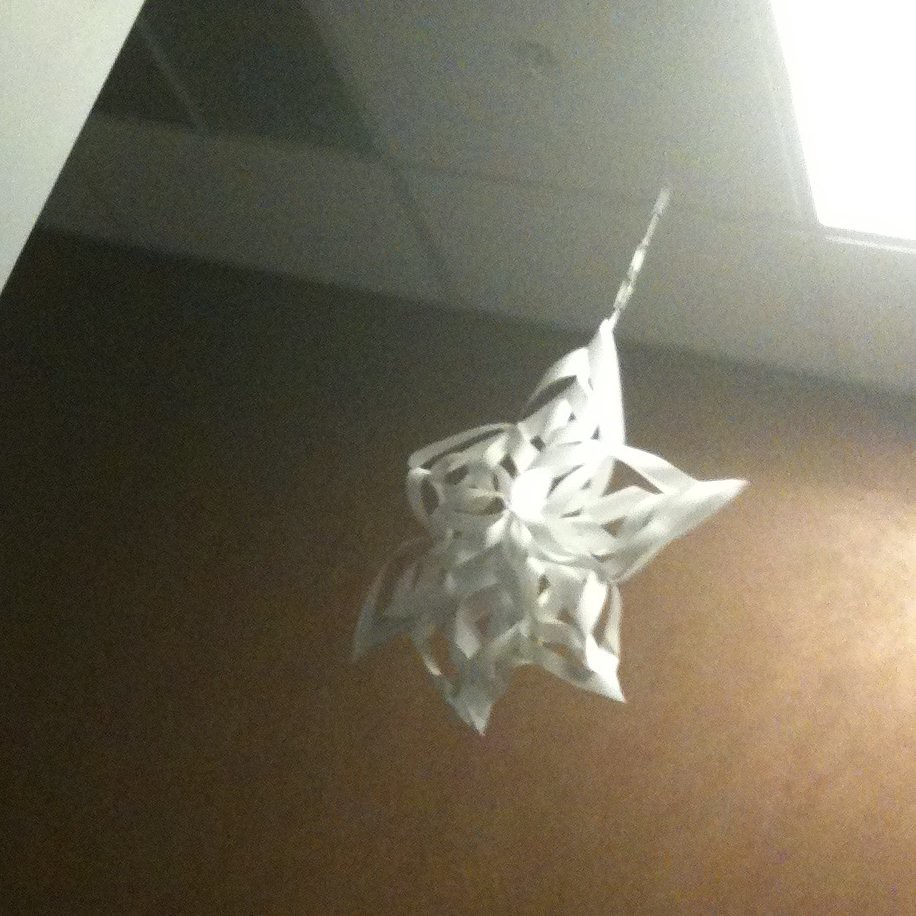
Now, I don't know about you, but I tend to find inspiration just about everywhere.  Even when I'm in a doctors office...about to get an x-ray...to make sure there isn't a growth...on my SPINE (there wasn't).  Anyhoodle, as I was sitting at the imaging center, I saw this fun thing hanging from the ceiling.  I just loved it, so I took a picture to save for a rainy day:


Little did I know then, the lonely star hanging from that ugly drop ceiling was my future Christmas Tree topper.

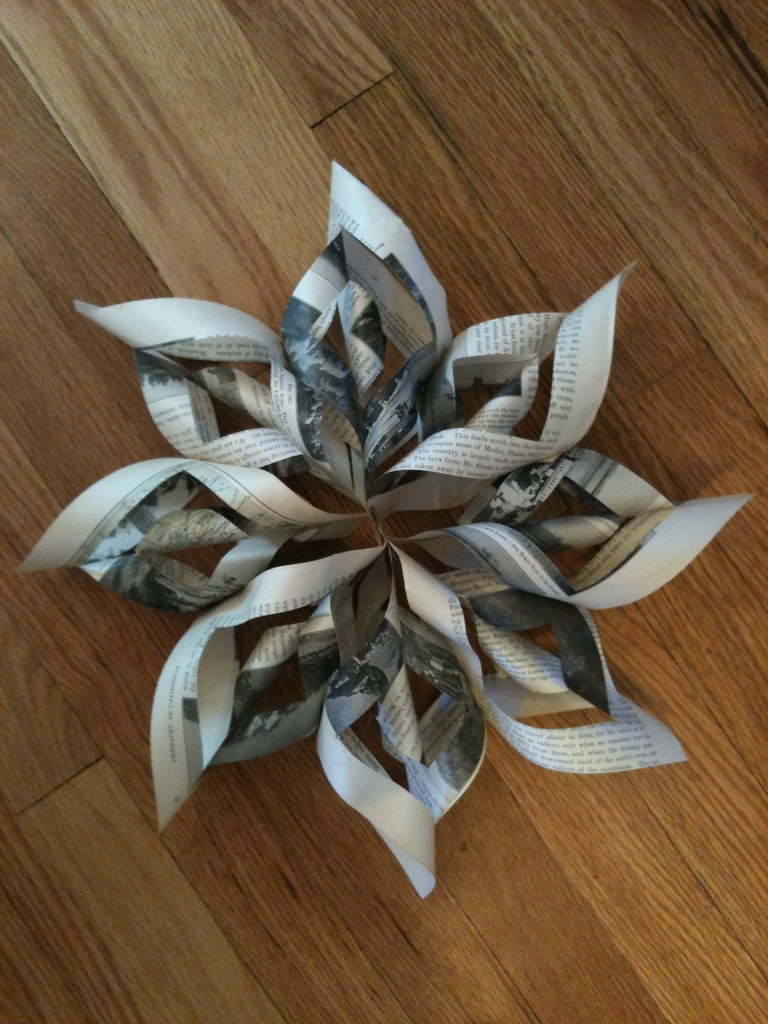
The paper is from the same vintage geography book other ornaments are made from:

Here 'tis on the floor:

Here 'tis atop the tree:


Tree Skirt:
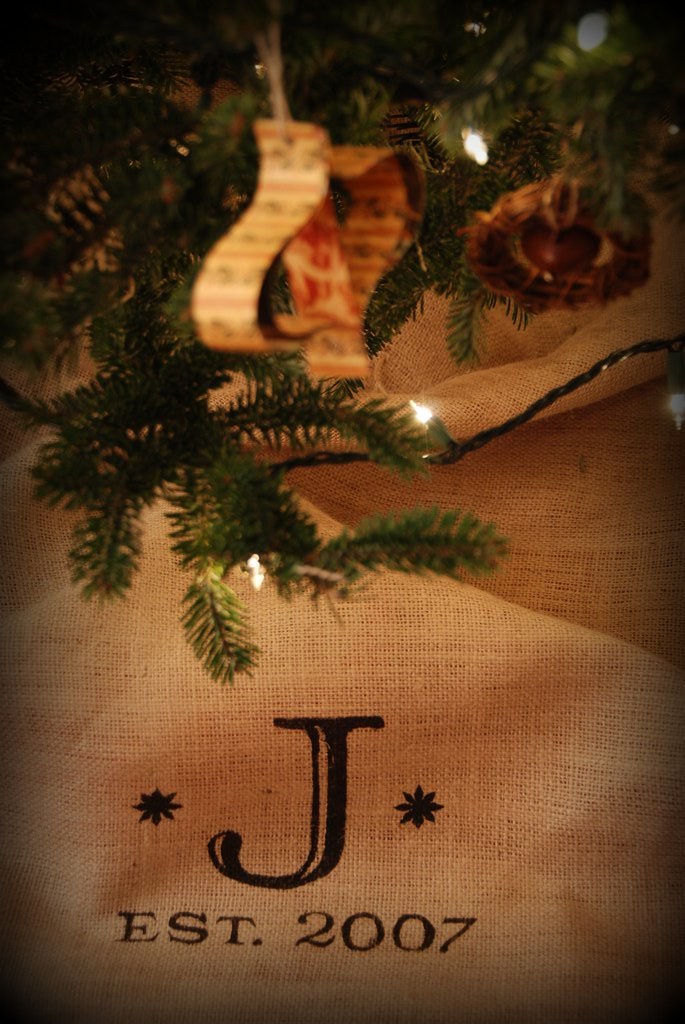
And the final touch, a tree skirt.  I still had yards of burlap left and just draped the unfinished fabric around the bottom of the tree. It totally worked, but it was missing something.

I had read about a freezer paper stencil technique all over the internets.  It was easy enough, just cut a design into the paper or use an inkjet printer to print your image on the paper side (not the waxy side) and use as a cutting template. Then, iron the paper (waxy side down) to your material and brush or dab paint right on top.  When you're done painting, just pull the paper up. No waxy or sticky residue left behind. 

Oh, did I mention that a whole roll of this stuff costs all of $3.50?  Make your own stencils for $3.50? Oh yeah, I'm all over it:

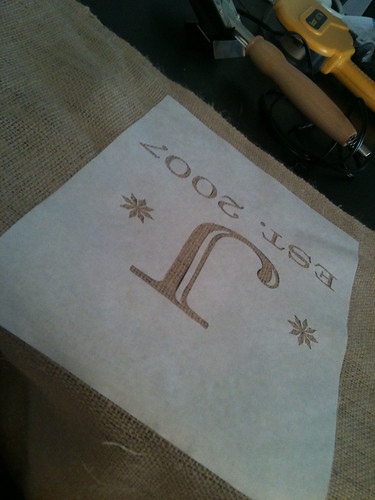
Here's the cut out:
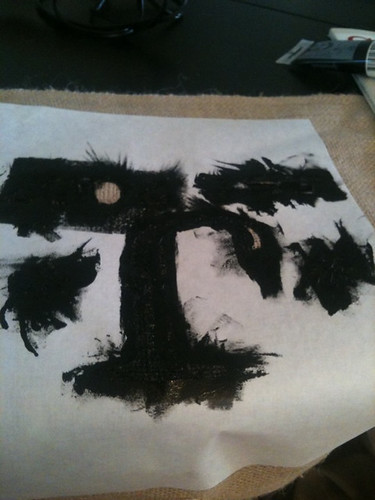
And here's the painted version: I used printers ink, which I wouldn't recommend, it's way too sticky, fabric paint would do just fine and be much more forgiving:

Finished!

Put it all together and you have a Handmade Burlap & Twine Christmas Tree:

Coming soon: Personalized Stockings and Burlap Holiday Wreath.
Sunday, July 26, 2009

Paper & Walls

Have you noticed all of the wallpaper being featured in design blogs & magazines lately? I just can't get enough of all of the big modern prints that are popping up everywhere, it surly ain't your granma's wallpaper.


When we bought this house a year ago, it was COVERED in wallpaper. Some might have called it "vintage" since it was 40 some years old. I called it, well, gross. It took me weeks (ok, maybe an exaggeration) to score , steam and scrape clean the paper & glue that had fossilized onto the walls.


Here's what the original wallpaper looked like in the kitchen and in the basement stairwell:


Horrific, no? Luckily I didn't have to waste too much water steaming it off, after the 6th hour of peeling, I just used the tears that ran down my sweaty face.


After I recovered from my wallpaper induced PTSD, not only did I slowly learn to love wallpaper, but I also took the plunge! Well sorta, ok, ok, maybe it was just a the inside of a built in cabinet and not an entire wall and maybe just a lampshade or two, but hey...it's a start!

So, the first wallpaper project involved the dining room built-in. The white cabinet in the corner of two gray walls needed a little "pop". The living room in our house is yellow so lining the inside of the built-in with a yellow wallpaper would be an easy way to tie the rooms together.


Before:


After:


One of the things I learned from my dive into the world of wallpaper is that you can't just buy one roll. You have to buy two at minimum. When I was finished with the built in, I still had just about a full roll of this stuff. Knowing that there was no way the husband was going to let me put wallpaper on the, heaven forbid, wall, I had another idea...


The breakfast bar needed two pendants above it to separate the space between the dining room and kitchen. Of course we couldn't find a fixture that both matched the kitchen hardware and wasn't stupid expensive. Finally, I just went to Target and bought 2 lamps with drum shades and sent the husband to Lowes to pick up a pendent light kit. I cut the paper to size and used removable (in case I screwed it up) adhesive to attach it to the shade.


Here's what the breakfast bar looked like before we hung the pendants:

And here is the result:


If you're looking to get some fun ideas about how to use wallpaper but don't have the stomach to commit to a whole wall, check out Wallpaper Projects from The Curiosity Shoppe.


DIY Magazine & DIYideas.com also has loads of fun ideas and inspiration.


I bought the black & white wallpaper in the picture above, I really had no reason to buy it except for think it sure was purty, but when an idea strikes, I'll be ready!


What DIY touches have made your house a home?

Monday, July 20, 2009

Blog Envy

What happens when you read your favorite "mommy" blog and your favorite crafter blog on the same day? Inspiration!

While getting my daily dose of Dooce.com, I really dug the wall flowers she placed above her changing table in her baby girl's nursery. They're from Umbra and just so cute. I love how they seem to float up the wall.
photocredit: Dooce.com.


The Umbra flowers reminded me of a recent post on the weddings and cookies blog (written by Renee of Ugly Kitty fame). She's experimenting with paper decor for her 2010 wedding.


Photo credit: weddingsandcookies.blogspot.com


Combine the two and *poof*! Paper wall flowers above the changing table ...


Where do you find inspiration?

Friday, June 6, 2008

Table Decor, Martha style

Check out these 2 fabulous and simple projects from http://www.marthstewart.com/ ! What an easy way to personalize any event.

Fire and Water

photo credit marthastewart.com
Simply take a small candle holder (pillar or votive) and place it inside a larger one. Fill the space between the 2 holders with water (tinted with food coloring) and you can create a centerpiece to match any decor.

For complete instructions, click here: http://tinyurl.com/6aavet


Festive Drink Umbrella

photo credit marthastewart.com


And what is a summer party or ocean side wedding without a cocktail umbrella? Thursdays "Craft of the Day" on http://www.marthastewart.com/ shows you how to make your own Festive Drink Umbrella out of origami paper. Think about all the possibilities...what about printing the bride and grooms name for a wedding or, better yet, using them as place cards? What about printing little fortunes on each for an Asian dinner party? What about printing titles of One Hit Wonders from the 80's that your guests will have to sing, after a few cocktails of course!

For complete instructions click here: http://tinyurl.com/6legkn


Sign up for Martha's craft of the day here:

http://tinyurl.com/652ust

How will you use your creativity to make these projects your own?

Sunday, June 1, 2008

Home Design

A few weeks back my mother was in town for a visit. She loves quilt stores as much as I love paper stores, so I took her on a little tour of Seattle quilt shops. Normally, I don't buy anything, having no idea how to quilt, sew or do much of anything fabric related, I usually just take on chauffeur status.

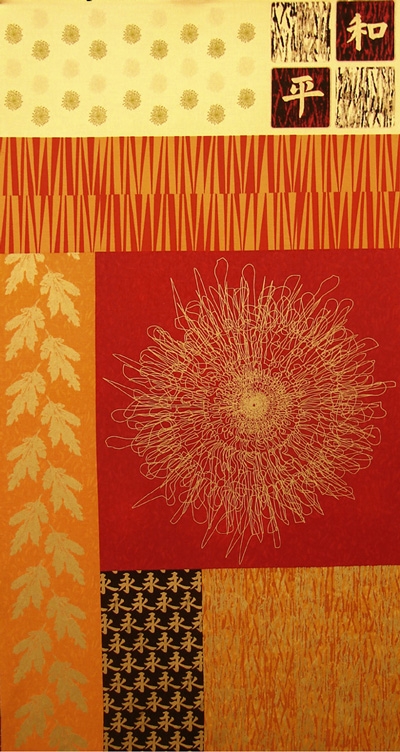
A print caught my eye with it's deep reds and sparkly golds called Graceful Geisha's from designer Lonni Rossi. I wound up buying it, having no idea what to do with it, but knew I'd eventually have a vision.
This is a 1 yard panel of the fabric


And this is what happens when you have a gorgeous print, a few canvases and a staple gun...


Where will you find design inspiration from?

Thursday, May 29, 2008

More DIY: Petal & Layered Programs

Once upon a time, a brand shiny new Micheal's Crafts opened it's doors in a land not so far far away...

Strolling through the aisles, I can across a some products that I've received numerous requests for, Petal Fan Programs and Layered Programs. In the past I've tried to steer clear of taking on these projects, they are amazingly time consuming to create from scratch and as you can imagine, the more components to an item and the longer it takes to cut, print and assemble the more expensive it becomes.


DIY Petal Fan Programs

Once again, Gartner Studios to save the day! They have partnered with Brides Magazine to come up with an exclusive line of print at home wedding accessories, not just invites, but wedding programs, chair signs, favor boxes, even letterpressed (looking) place cards sold exclusively at Micheal's. Usually, I'm not a huge fan of craft store wedding products, to much painted plastic and tulle for me, but I think Gartner really hit this mark this time. Their designs are modern and sophisticated, including everything from whimsical soft pink dots to elegant black damask designs (p.s. you'll be seeing much more damask in the coming months). It's an inexpensive, or should I say, less expensive, way to add all of those extra details to your wedding without having to take out a second mortgage.

Some others fun things from the collection:

DIY Chair Signs


Damask Place Cards


See the entire line here: http://tinyurl.com/3yr23n

Happy Planning!

Wednesday, May 28, 2008

Imprintable Invites at Target

Stay tuned for Cry Baby Ink Letterpress Imprintable Stationary and Pocketfold DIY kits...
Until then...
Looking to get that letterpressed feel at a DIY price?

Target and Gartner Studios have introduced a line of imprintable wedding stationary that they are calling Letter Impress. Their design suite offers a letterpressed graphic on a card that you can run through your printer at home. Great idea, great price. The only thing is, it's not actually letterpressed, hence the name Letter Impress. It's printed flat, then embossed, and only the graphic is embossed, not the printed text. But unless your one who checks registration and such things, no one willever know.