
Sunday, December 30, 2012


Champagne Glitter: Goodwill & Dollarstore Christmas Tree 2012
This years' Champagne Glitter Christmas Tree was decorated with ornaments purchased either at Goodwill or the Dollar store. If you walk into Goodwill before the holidays, you will find HUGE bags of ornaments for $1.99. I spent about $6 on ornaments then headed over to Micheal's crafts for some Martha Stewart Glittering Glue and Glitter. I'm sure you can use other glue/glitter, but the MS brand is what works for me :) I also like how fine the glitter is.
Glue:
 plus glitter:
 plus cheap plastic ornaments = this:

The dollar store had sets of plastic snowflakes, just add glue & glitter & you wind up with this:

Joanns had a sale on "bridal" fabric, I picked up 3 yards of a shimmery satin and the same amount of a glittery tulle. It's just draped it around the bottom of the tree, no need to sew, hem, iron or whatnot.

For the Star, I folded a $0.99 piece of 12"x12" glitter paper to make it 3D ish. I actually needed to cut the paper in half and print each half of the star separately since my printer wouldn't take the full 12x12 sheet. You could probably hand draw a template to fit on one sheet.
Cut around the edges, use a bone folder to crease the lines (create "mountain fold" on point lines, "valley folds" on lines between points):
Left template:
 and right...
 And voila...
 Put it all together...

The additional decorations on the tree are some chocolates that had a gold wrapper (tie on ribbon and hang), bows made of glittery ribbon (always 50% off before the holidays) and white curly willow type sticks I found in the floral decor section at Ikea.
It took some time, but not much $$ to create my 2012 Champagne Glitter Christmas Tree :)
Glue:


The dollar store had sets of plastic snowflakes, just add glue & glitter & you wind up with this:

Joanns had a sale on "bridal" fabric, I picked up 3 yards of a shimmery satin and the same amount of a glittery tulle. It's just draped it around the bottom of the tree, no need to sew, hem, iron or whatnot.

For the Star, I folded a $0.99 piece of 12"x12" glitter paper to make it 3D ish. I actually needed to cut the paper in half and print each half of the star separately since my printer wouldn't take the full 12x12 sheet. You could probably hand draw a template to fit on one sheet.
Cut around the edges, use a bone folder to crease the lines (create "mountain fold" on point lines, "valley folds" on lines between points):
Left template:


The additional decorations on the tree are some chocolates that had a gold wrapper (tie on ribbon and hang), bows made of glittery ribbon (always 50% off before the holidays) and white curly willow type sticks I found in the floral decor section at Ikea.
It took some time, but not much $$ to create my 2012 Champagne Glitter Christmas Tree :)
Thursday, April 14, 2011
Wedding Invitation Giveaway :: LAST DAY TO ENTER
Head over to Couture Colorado to enter a wedding invite contest where you can win 50% OFF letterpress wedding invites!! Contest ends tonight! Hurry Hurry!

Tuesday, March 15, 2011
How to Word a Wedding Invitation - The 6 Essentials
If you've been trying to figure out how to word your invitation and are getting more and more confused, don't worry, you're not alone.
To break it down, there are 6 essential pieces of information that need to be included: 1. the Host 2. the Request line 3. the name of the Bride & Groom 4. the Time 5. the Date and 6. the Location .
Beyond these 6 essentials, the rest is just preference.
The host line is exactly what it sounds like. Whom ever is "hosting" (i.e. paying for) the wedding is considered the host. If it is your traditional mother and father of the bride paying, the host line may simply read:

if both sets of parents are hosting, it would read:

*Notice how there is no "and" between the sets of parents? This is the "proper" formatting, however, if you are more comfortable with adding an "and" between the two, by all means, go for it.
If the bride and groom are hosting, the line would read:

or

The Request line is where the host requests a guests attendance to an event.
A traditional request line would read:

You see both spellings of "honour" and "honor" on invitations. The first being the obviously more formal but both are perfectly acceptable. Requesting the "honour (or honor) of someones presence" is a formality usually reserved for a religious ceremony at a place of worship. Weddings outside of places of worship would read:

This one is pretty standard, if only the parents of the bride are listed as hosts, then you would write the brides name using just her first and middle name (since her last name is presumably the same as her parents). For example:

If both parents names are listed, you would include the first and middle name of both bride and groom:

Feel free to use "to" instead of "and" depending on how the rest of the invite is worded.
 Also, if you're worried that your guests won't understand that by saying six o'clock, you don't mean six o'clock in the morning, feel free to write out:

Writing out a date can be pretty confusing, so here it is:

The day of the week, in this case Saturday, leads and is capitalized. The day of the month is lower case since it's not a proper noun. The month is capitalized, again a proper noun. Only the first letter in the year is capitalized. Again, if you're more comfortable with capitalizing Two Thousand Eleven, go for it, I can guarantee the etiquette police will NOT come knocking on your door :)
Now, I'm sure you've also seen the year written both ways, "Two thousand eleven" and "Two thousand and eleven". The former is the most "proper" but the latter isn't "wrong" per se. It just depends on your taste.

Or, if you're only including the invite and RSVP in the invitation mailing (without a reception card or any additional info), you could write:

When you combine all of the components, you have a complete and properly worded wedding invitation:
 **Of course, not all weddings or family situations fit in to a neat little box with a bow on top :) I'll post some options for other types of family situations later on. In the mean time, feel free to leave a comment w/ questions on how to word an invite for your particular situation.
To break it down, there are 6 essential pieces of information that need to be included: 1. the Host 2. the Request line 3. the name of the Bride & Groom 4. the Time 5. the Date and 6. the Location .
Beyond these 6 essentials, the rest is just preference.
Host Line
The host line is exactly what it sounds like. Whom ever is "hosting" (i.e. paying for) the wedding is considered the host. If it is your traditional mother and father of the bride paying, the host line may simply read:

if both sets of parents are hosting, it would read:

*Notice how there is no "and" between the sets of parents? This is the "proper" formatting, however, if you are more comfortable with adding an "and" between the two, by all means, go for it.
If the bride and groom are hosting, the line would read:

or

Request Line
The Request line is where the host requests a guests attendance to an event.
A traditional request line would read:

You see both spellings of "honour" and "honor" on invitations. The first being the obviously more formal but both are perfectly acceptable. Requesting the "honour (or honor) of someones presence" is a formality usually reserved for a religious ceremony at a place of worship. Weddings outside of places of worship would read:

Bride and Groom Names
This one is pretty standard, if only the parents of the bride are listed as hosts, then you would write the brides name using just her first and middle name (since her last name is presumably the same as her parents). For example:

If both parents names are listed, you would include the first and middle name of both bride and groom:

Feel free to use "to" instead of "and" depending on how the rest of the invite is worded.
Time
The most formal way to write time is:

Date
Writing out a date can be pretty confusing, so here it is:

The day of the week, in this case Saturday, leads and is capitalized. The day of the month is lower case since it's not a proper noun. The month is capitalized, again a proper noun. Only the first letter in the year is capitalized. Again, if you're more comfortable with capitalizing Two Thousand Eleven, go for it, I can guarantee the etiquette police will NOT come knocking on your door :)
Now, I'm sure you've also seen the year written both ways, "Two thousand eleven" and "Two thousand and eleven". The former is the most "proper" but the latter isn't "wrong" per se. It just depends on your taste.
Location
This is simple the place, city and state where the ceremony will take place.

Or, if you're only including the invite and RSVP in the invitation mailing (without a reception card or any additional info), you could write:

When you combine all of the components, you have a complete and properly worded wedding invitation:

Monday, March 7, 2011
DIY Favors: Pantone & Cookies
This has been posted all over the interwebs, so I'll just jump right on that bandwagon, cause it's fun!
When I saw these Pantone chip inspired cookies posted by Kim Neill @ KimCreativeStar.com, I nearly feel outta my chair. So cute! So clever! So delicious!

 I immediately thought they'd be a great DIY favor for a shower or even the wedding! Personalized cookies in your wedding colors!
When most people think of a color, they usually think in terms of Red, Orange, Yellow Green & Blue. But ask a designer what color they want and chances are they'll say PMS 192 or 715 or 604 or some other random number. PMS stands for Pantone Matching System and number denote a specific shade of a color, since there are hundreds of each.
Anyhoodle, I just couldn't pass up talking about about 2 things that I love: Color and Cookies!
When I saw these Pantone chip inspired cookies posted by Kim Neill @ KimCreativeStar.com, I nearly feel outta my chair. So cute! So clever! So delicious!


When most people think of a color, they usually think in terms of Red, Orange, Yellow Green & Blue. But ask a designer what color they want and chances are they'll say PMS 192 or 715 or 604 or some other random number. PMS stands for Pantone Matching System and number denote a specific shade of a color, since there are hundreds of each.
Anyhoodle, I just couldn't pass up talking about about 2 things that I love: Color and Cookies!
Wednesday, January 26, 2011
New Colors @ Paper Source
The 2011 Waste Not Paper Catalog (wholesale division of Paper Source) arrived yesterday!

Feast your eyes on Fig & Clover (Clover available May 2011):

Paper Source always does a great job about pairing unexcpeted colors. Check out these Fig color combos:

I bet these Clover combos are going to be a big hit this Spring! Having a St. Patrick's Day Party perhaps?


What's even more exciting than just getting a brandy new catalog in the mail is their introduction of 2 NEW colors!
Feast your eyes on Fig & Clover (Clover available May 2011):

Paper Source always does a great job about pairing unexcpeted colors. Check out these Fig color combos:


I bet these Clover combos are going to be a big hit this Spring! Having a St. Patrick's Day Party perhaps?


The Paper Source Catalog is always a great source of inspiration, especially if you live in a state without an actual PS store (like me).
If you'd like to receive a catalog, you can sign up over here at the PS website.

Monday, January 24, 2011
Letterpress Greetings: Old Tom Foolery
I admit it. I'm a sucker for paper. And letterpress. And unexpected wit. Add the three together and you have one of my personal favorite Greeting Card companies, Old Tom Foolery.
Their tag line says it all: "Unsapy, uncrappy greetings..."
Yeah, I'd say so:


Check out the Old Tom Foolery website to find fun cards for every occasion!
Their tag line says it all: "Unsapy, uncrappy greetings..."
Yeah, I'd say so:
Weddings:

Valentines Day:

Birthdays:
 |
Check out the Old Tom Foolery website to find fun cards for every occasion!
Tuesday, December 21, 2010
DIY Christmas Stockings
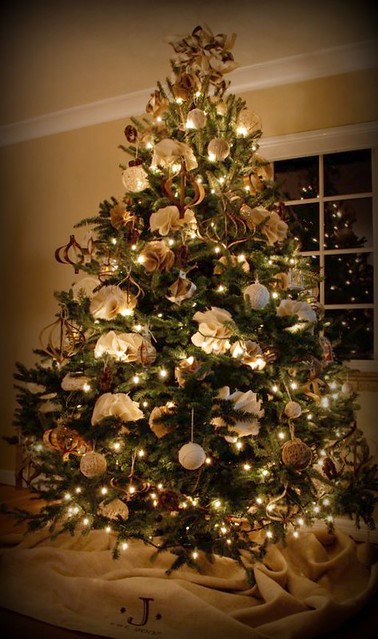
Since all of my tree ornaments were handmade, I needed to come up with stockings that continued the theme of the Burlap and Twine Christmas Tree,

I've been on an image transfer kick lately. I've used freezer paper stencils for my tree skirt here, a gel medium transfer technique that I learned over at How About Orange, but the one I used for my Christmas "Stockings" was a simple iron on transfer.

You can buy image transfer paper at almost any craft store, you can use it in a regular old ink jet printer, it's super easy.
I found these great graphics over at Just Something I Made, if you are a crafter, scrapbooker or just like to play with graphic design, you really must check out JSIM. Written and designed by Cathe Holden, it's just bursting with ridiculously fun inspiration and downloads, there are just endless possibilities:
She designed these lovely labels to use on bottles of glitter:

What do glitter bottles have to do with Christmas Stocks? Everything! Duh.
I downloaded this graphic, added a little Illustrator magic and suddenly had a fun image to use on my stockings:

My first idea for the stocking was to do iron these on small burlap sacks, but the weave of the burlap was too wide to take the graphic. So I found these similar muslin bags, applied the iron on, and here's how they came out:


I've been on an image transfer kick lately. I've used freezer paper stencils for my tree skirt here, a gel medium transfer technique that I learned over at How About Orange, but the one I used for my Christmas "Stockings" was a simple iron on transfer.

You can buy image transfer paper at almost any craft store, you can use it in a regular old ink jet printer, it's super easy.
I found these great graphics over at Just Something I Made, if you are a crafter, scrapbooker or just like to play with graphic design, you really must check out JSIM. Written and designed by Cathe Holden, it's just bursting with ridiculously fun inspiration and downloads, there are just endless possibilities:
She designed these lovely labels to use on bottles of glitter:
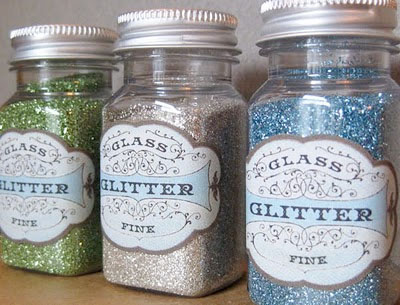
What do glitter bottles have to do with Christmas Stocks? Everything! Duh.
I downloaded this graphic, added a little Illustrator magic and suddenly had a fun image to use on my stockings:
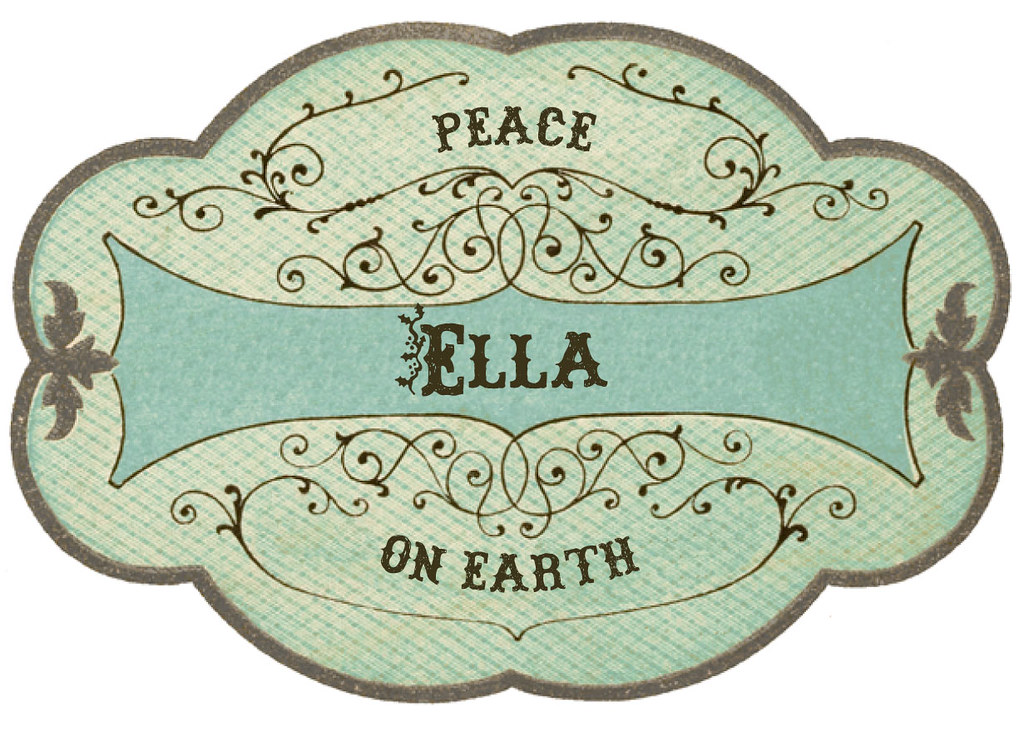
My first idea for the stocking was to do iron these on small burlap sacks, but the weave of the burlap was too wide to take the graphic. So I found these similar muslin bags, applied the iron on, and here's how they came out:
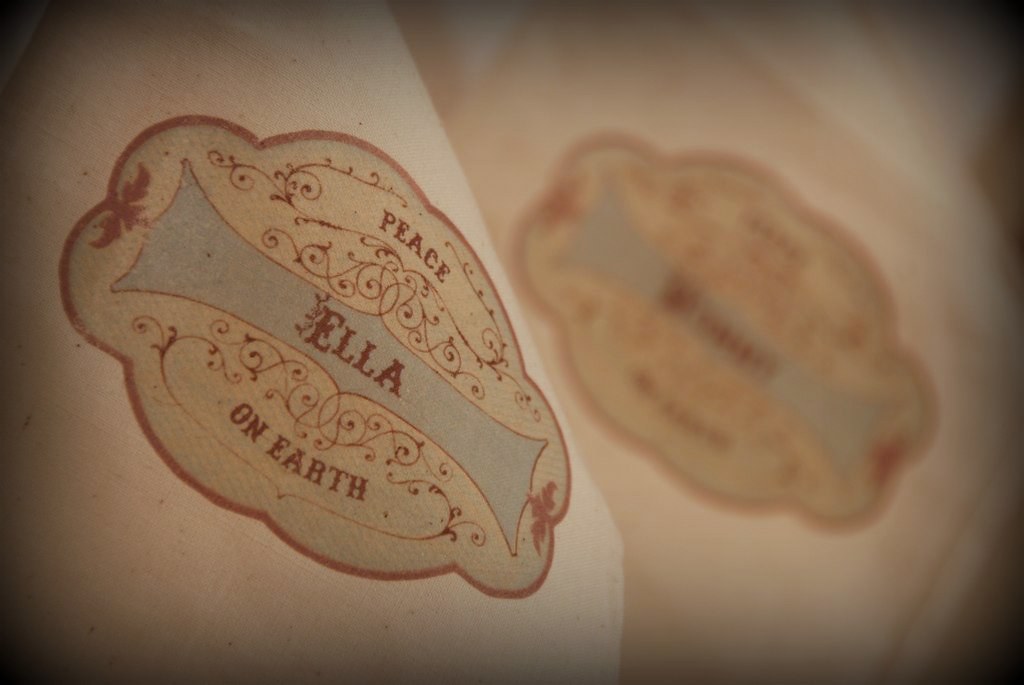

So far my entire tree was DIY and inspired by other blogs in blogland. So, thank you creative bloggers for all of your work. I hope someday I can provide as much inspiration as I receive.
Sunday, December 12, 2010
Burlap & Twine Christmas Tree
'Tis the season to go craft crazy. I mean, clearly there aren't more important responsibilities to take care of like going to work, taking care of your children, or reLAXING! Nooo....spending hours wrapping twine around styrofoam balls is a MUCH more logical use of time...so that's what I did.
Inspiration:
I was inspired by a sheet of screen printed burlap I bought in Seattle a few months back. Taking such an unexpected material, like a utility fabric and making it something beautiful really got my brain buzzing.


Twine Wrapped Ball:
This ornament is pretty easy, although more time consuming than you might think. It's just twine wrapped around a styrofoam ball. If you try it, just make sure you add dots of glue along the way, it'll keep the wrap tight and also keep you from losing your work if you have to stop half way through:


Tree Topper:
Now, I don't know about you, but I tend to find inspiration just about everywhere. Even when I'm in a doctors office...about to get an x-ray...to make sure there isn't a growth...on my SPINE (there wasn't). Anyhoodle, as I was sitting at the imaging center, I saw this fun thing hanging from the ceiling. I just loved it, so I took a picture to save for a rainy day:

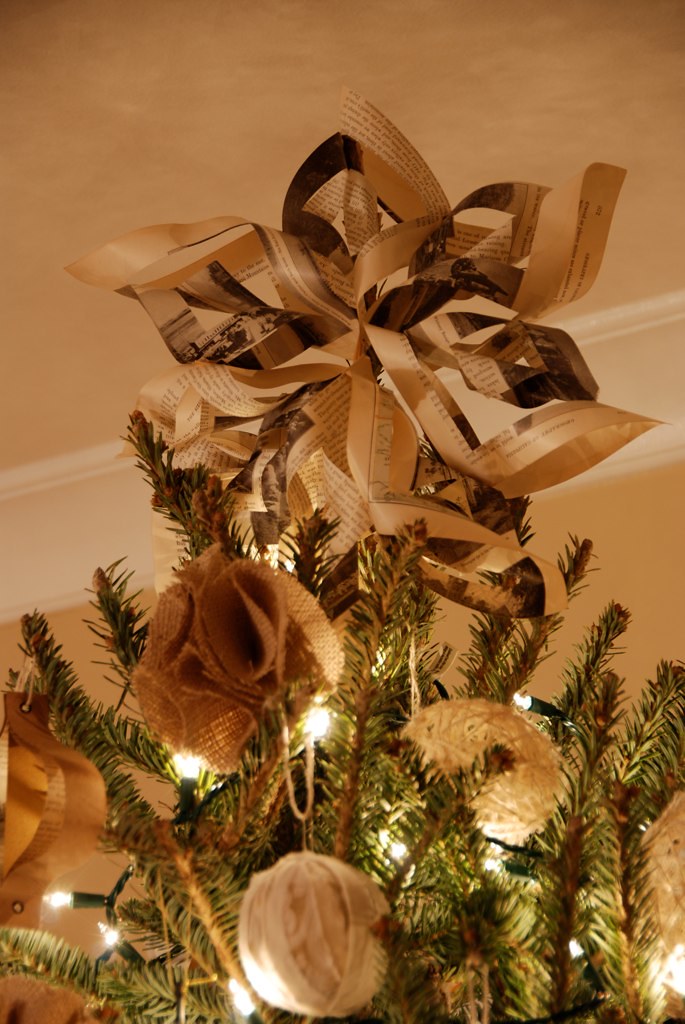
Little did I know then, the lonely star hanging from that ugly drop ceiling was my future Christmas Tree topper.
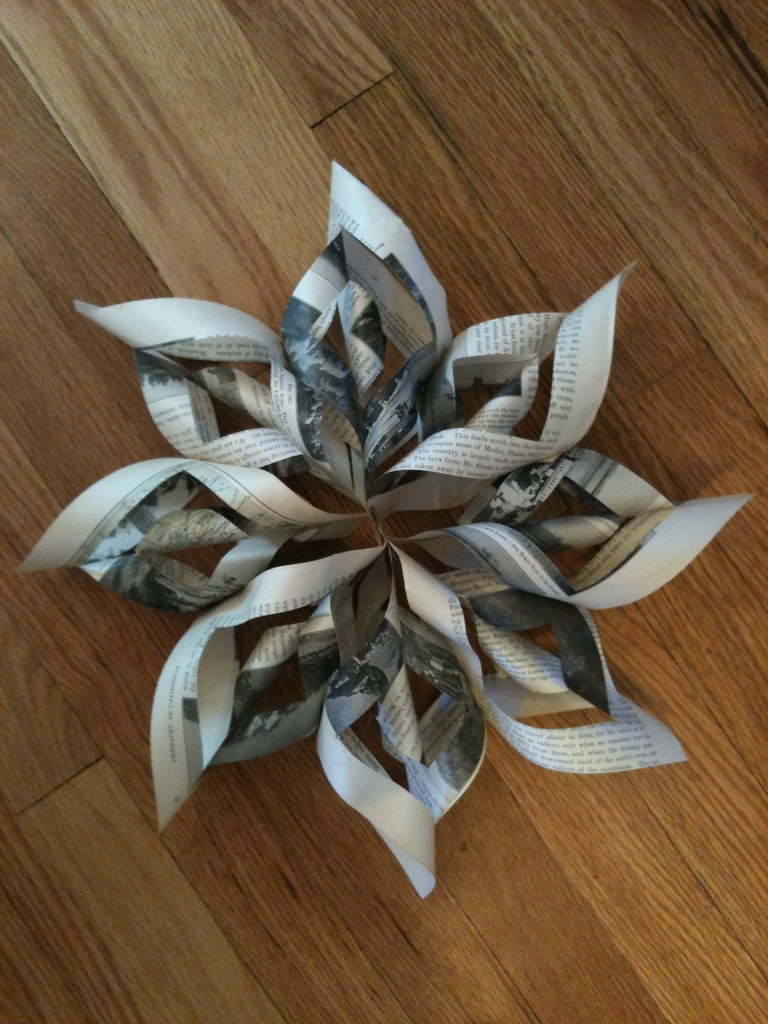
The paper is from the same vintage geography book other ornaments are made from:


Tree Skirt:
And the final touch, a tree skirt. I still had yards of burlap left and just draped the unfinished fabric around the bottom of the tree. It totally worked, but it was missing something.
I had read about a freezer paper stencil technique all over the internets. It was easy enough, just cut a design into the paper or use an inkjet printer to print your image on the paper side (not the waxy side) and use as a cutting template. Then, iron the paper (waxy side down) to your material and brush or dab paint right on top. When you're done painting, just pull the paper up. No waxy or sticky residue left behind.
Oh, did I mention that a whole roll of this stuff costs all of $3.50? Make your own stencils for $3.50? Oh yeah, I'm all over it:


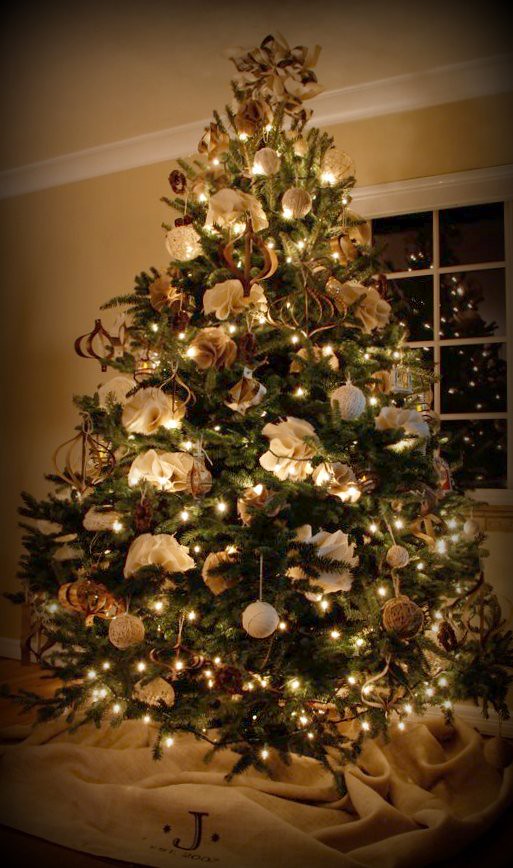
Put it all together and you have a Handmade Burlap & Twine Christmas Tree:
Inspiration:
I was inspired by a sheet of screen printed burlap I bought in Seattle a few months back. Taking such an unexpected material, like a utility fabric and making it something beautiful really got my brain buzzing.

Needing an excuse to play with my new favorite material, I decided on a Burlap & Twine Christmas Tree. So here's what I made:
Burlap Flowers:
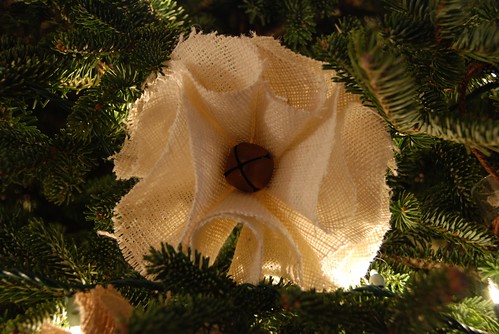
I went over to Joann Fabric and picked up about 10 yards of burlap for $1.50/yard (after 50% off coupon). I cut out somewhere between a one and a billion circles, folded them in quarters and wired the bottoms together (I didn't have any actual wire, so I unfolded a bunch of those cheap metal ornament hooks), and **poof** you've got flower:
Paper "Mod" Ornaments:
My studio already kinda looks like a paper warehouse, so when I saw this ornament tutorial over on Design Sponge a while back, I had plently of material to work with. Some ornaments I made from plain kraft paper, some from old time Christmas scrap book paper and my favorites, from pages of a vintage geography book I found at an antique shop.


Twine Wrapped Ball:
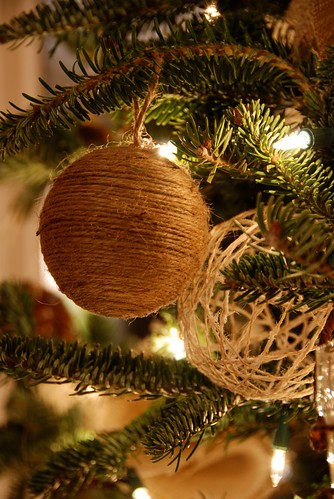
This ornament is pretty easy, although more time consuming than you might think. It's just twine wrapped around a styrofoam ball. If you try it, just make sure you add dots of glue along the way, it'll keep the wrap tight and also keep you from losing your work if you have to stop half way through:
Stringy Wrapped Bally Thing:
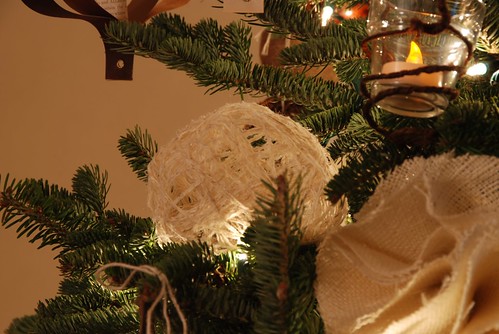
These stringy wrapped bally things are from Martha Stewart. I had some rolls of twine, some yarn, and funky textured string. All you have to do is wrap the string around a balloon and paint with glue, I used Elmer's, but a crocheting stiffener would probably work better. Martha's tutorial is here. The size of your stringy ball can be as big as you can blow a balloon, no need to limit yourself to "fist size" as instructed in the tutorial.
Some hung:

Some just tucked in between branches:
Tree Topper:
Now, I don't know about you, but I tend to find inspiration just about everywhere. Even when I'm in a doctors office...about to get an x-ray...to make sure there isn't a growth...on my SPINE (there wasn't). Anyhoodle, as I was sitting at the imaging center, I saw this fun thing hanging from the ceiling. I just loved it, so I took a picture to save for a rainy day:
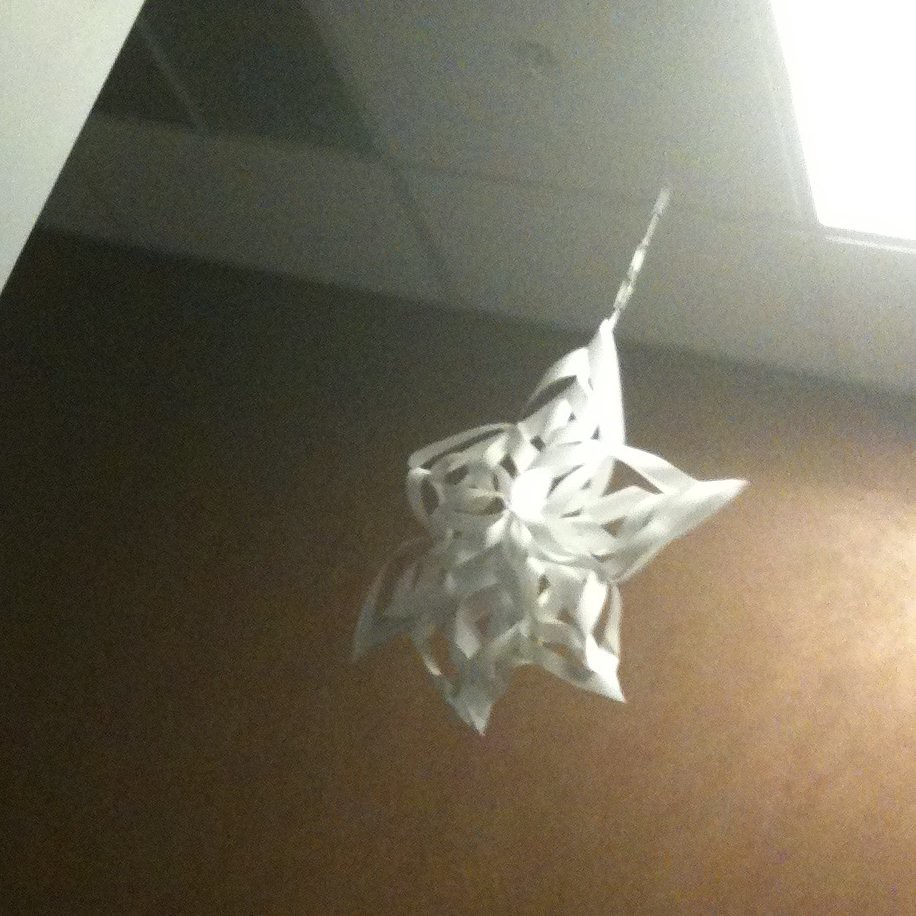
Little did I know then, the lonely star hanging from that ugly drop ceiling was my future Christmas Tree topper.
The paper is from the same vintage geography book other ornaments are made from:
Here 'tis on the floor:
Here 'tis atop the tree:
Tree Skirt:
And the final touch, a tree skirt. I still had yards of burlap left and just draped the unfinished fabric around the bottom of the tree. It totally worked, but it was missing something.
I had read about a freezer paper stencil technique all over the internets. It was easy enough, just cut a design into the paper or use an inkjet printer to print your image on the paper side (not the waxy side) and use as a cutting template. Then, iron the paper (waxy side down) to your material and brush or dab paint right on top. When you're done painting, just pull the paper up. No waxy or sticky residue left behind.
Oh, did I mention that a whole roll of this stuff costs all of $3.50? Make your own stencils for $3.50? Oh yeah, I'm all over it:
Here's the cut out:
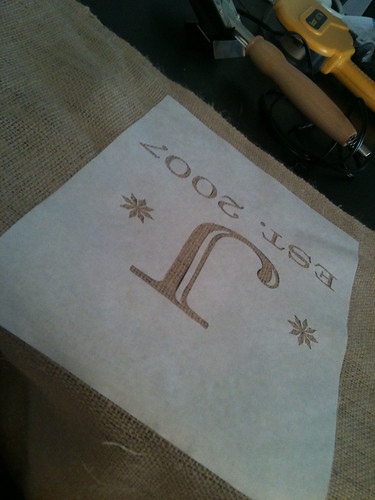
And here's the painted version: I used printers ink, which I wouldn't recommend, it's way too sticky, fabric paint would do just fine and be much more forgiving:
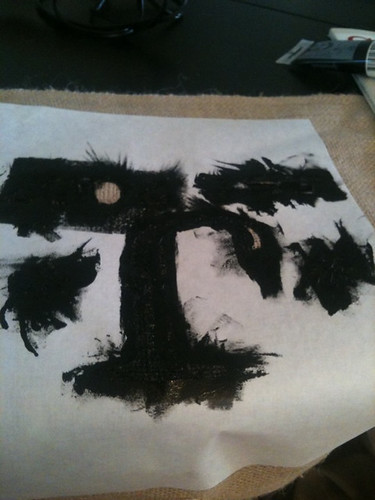
Finished!
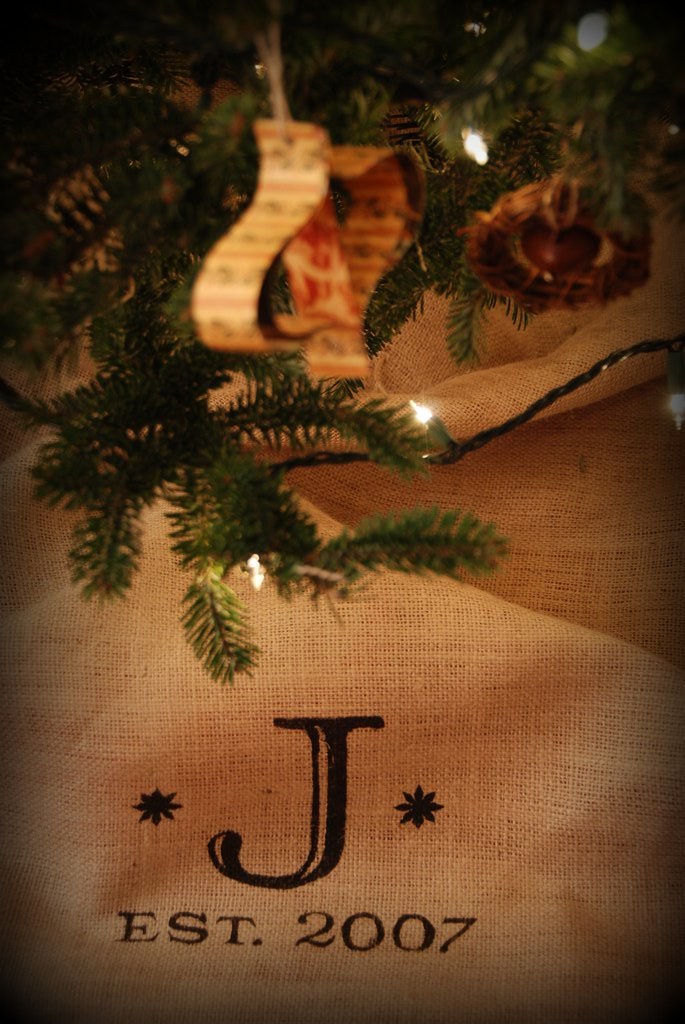
Put it all together and you have a Handmade Burlap & Twine Christmas Tree:
Coming soon: Personalized Stockings and Burlap Holiday Wreath.
Subscribe to:
Posts (Atom)